Applying Stripes and Printed Decals
1. In a spray bottle, add one inch of room-temperature water and four globs of dish detergent. Shake it up.
2. Wash the surface of the car with dish detergent and water to remove all dirt and debris, and finish with rubbing alcohol disinfectant. Make sure there is no trace of rubbing alcohol left, as it will ruin the adhesive of the decal. Never assume something that looks clean, is clean. Beware of paint nibs on the car's surface.
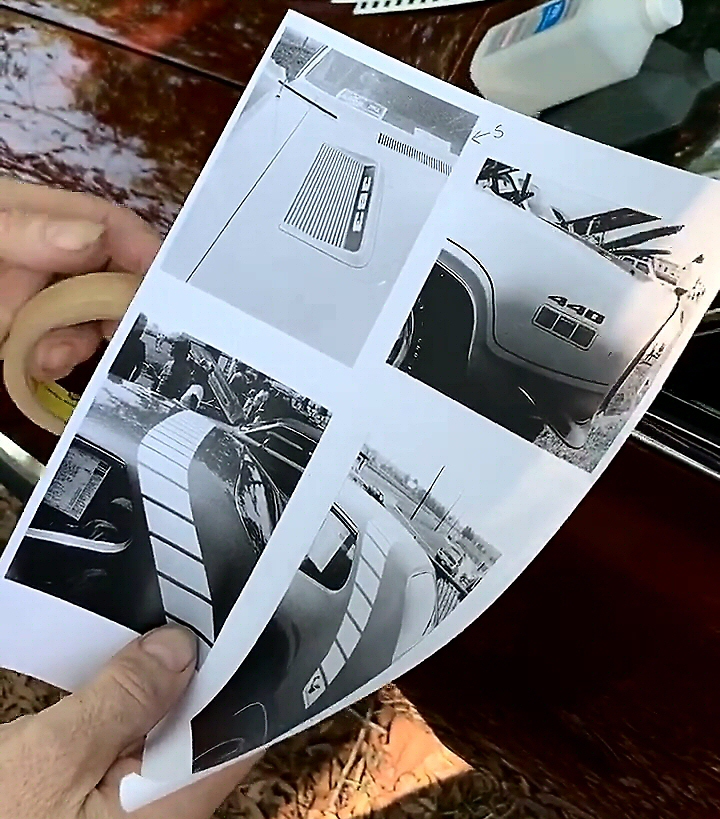
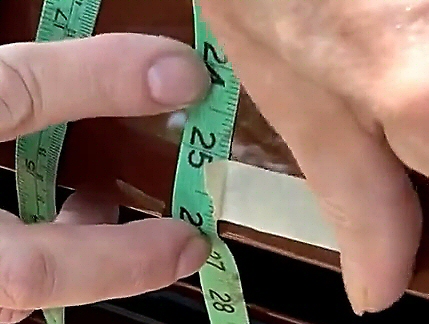
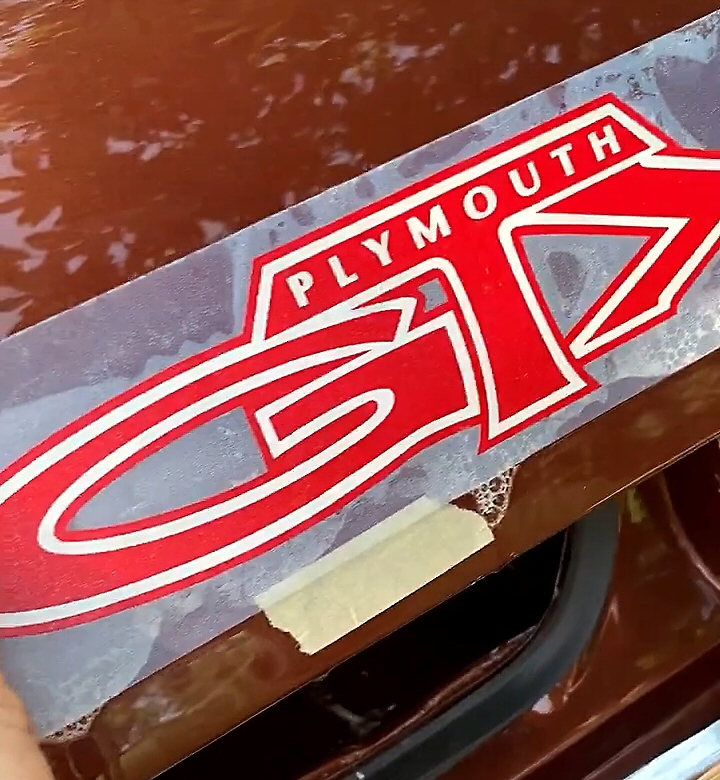
3. For placement of a stripe or decal, use the Small Decal Location Instructions (also available on this website) and/or photos that come with the decal. Use a cloth ruler to avoid scratching the paint, and masking tape to mark the location of the decal on the car. Distance is measured from the outermost edges of the decal, not the carrier paper or transfer tape. It helps greatly to do a trial run and know beforehand exactly where to place the decal before starting the application process. If you repeatedly apply, then pull up and reposition a stripe or decal, you will damage the adhesive.
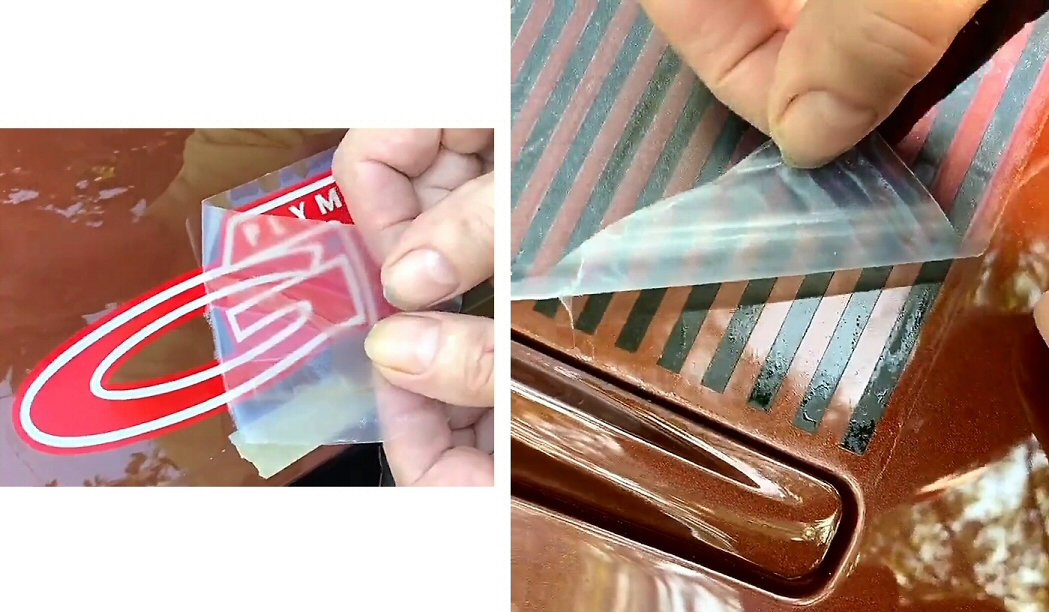
4. Wet your finger and slowly pull back the liner covering the adhesive on the decal, doubling it back on itself. Be especially careful not to get fingerprints on the corners of the decal. Never touch the adhesive side of an inside-of-window decal or a clear decal. Fingerprints will show after the decal is applied. When peeling off the liner, especially if it is paper, make sure you don't leave any bits of paper on the decal adhesive.
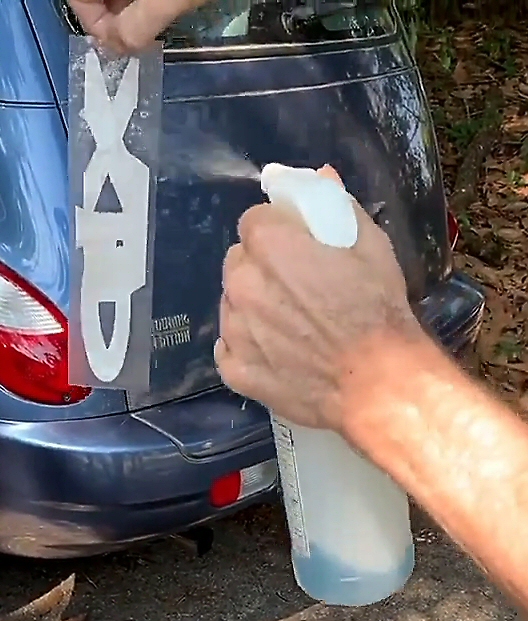
5. Spray the adhesive of the decal, away from the car, taking care to get all areas of the decal wet. Move your fingers where you are holding the decal, and get that area wet too.
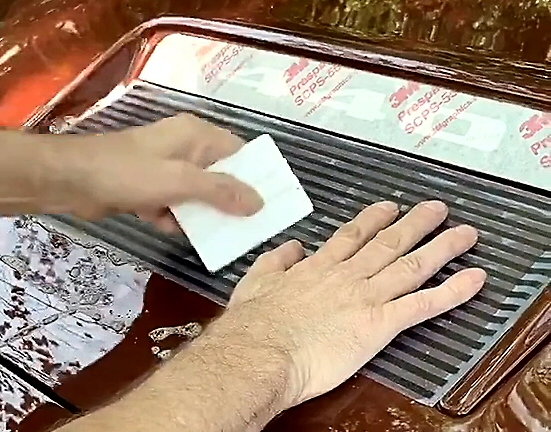
6. Note any instructional placement markings on the transfer tape, and slide the decal into place on the car. Firmly holding down the decal with one hand, squeegee from the center outward several times to remove water and air bubbles. Never squeegee or wipe the decal from the edges inward. Use strong strokes with lots of overlap, and go all the way to the edges. Make sure the decal does not move as you squeegee. Even after repeated squeegeeing, there may still be air bubbles. Most or all of these will eventually disappear over time. Sunlight may help speed bubble disappearance but also can cause bubbles to harden so they will never go away. Never poke air bubbles with a pin. The hole will quickly grow. Don't scratch the paint on the car as you squeegee. Don't cut the squeegee to make it smaller for the job. It will create sharp edges that scratch the decal and the paint on the car. Stripe orders come with a Lidko squeegee that has the right stiffness and works better than 3M's softer squeegee.
7. Never apply a stripe decal dry, which will usually trap air bubbles that will not go away. Moisture is needed for exact placement of the decal, and to obliterate the adhesive on the transfer tape so it will pull off the decal easily after allowing sufficient drying time. On a hot dry day, the transfer tape can be taken off sooner (usually a half hour or so) than on a cool wet day, which may take hours. Never apply a decal to a hot surface or to a cold surface. Never use a heat gun on hot setting to dry out a decal. Heat can be used if it's general, and not too hot for your fingers. It is advisable not to apply large or long decals on a windy day.
8. When the decal appears to be sufficiently dry, slowly and carefully begin pulling up the transfer tape on one corner, doubling it back on itself. If you see the decal pulling up along with the transfer tape, immediately stop and allow more drying time. Otherwise, you will ruin the decal, and it is very difficult to remove a decal from the car. There is no substitute for time when it comes to drying. Decals with small or narrow areas, such as pinstripes, need special attention so they do not become displaced when removing the transfer tape.
9. After the transfer tape is removed, it will leave behind a gooey residue. The safest way to clean it up is with soap and water, which won't damage the paint, unlike chemical cleaners.
© Performance Car Graphics 2022